How to put up a shelf, how to make hanging shelves, how to hang hanging shelves, how to put up drywall, how to hang a wooden shelf, how to install hanging shelves, easy way to hang shelves, how to install hanging shelves, how to put up a floating shelf in drywall, how to put up a fence, how to put up curtain rods, easiest way to hang shelves, tips for hanging shelves, how to clear cache, how to put on a condom, how to hang small shelves, how to install hanging shelves.
Knowing how to put up a shelf successfully is a must for everyone's repertoire of DIY jobs. It is easy enough if you know what you are behaviors, and this skill means you can transform a residence both visually and practically, adding much needed storage in the process.
Our step-by-step leash will help you learn how to hang shelves on the wall with brackets – which are principal if your shelving ideas are on the creative side and liable to take a fair amount of weight. Rest assured that whether you're toiling with drywall, plasterboard or masonry walls, you'll be able to ruined this job with every success. All without calling in (or paying) someone to help you!
Building contractor, Aaron Donovan of AD Services adds, 'Putting up a shelf is a very easy job, just be sure to plan. Before behaviors anything, consider the size and depth of your shelves. Don't place particularly deep shelves near doors or busy areas of the home where there is a misfortune of people bumping into them. Generally, shelves should be mounted at eye level.'
You can observe the video below to see how it is done, and read the steps for success.
How to put up a shelf with brackets
With the luminous tools, this is an easy enough job for most farmland who have done a little DIY. As long as you are dejected using a spirit level and a drill, you can have a new shelf up in no time to explain your favorite things.
Skill level: beginner
Cost: depends on cost of shelf
Time: 1 hour or less
What you will need
(Image credit: Claire Douglas)
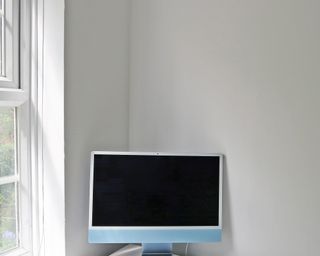
1. Check the construction of the wall
First check what kind of wall you are attaching your shelf brackets to – masonry or plasterboard? This will dictate the weight of the shelf you are progressing to be able to hang (not to mention its contents) and the fixings you will need. To test your wall type, knock on it; if it sounds hollow, chances are it's plasterboard or drywall.
(Image credit: Claire Douglas)
2. Choose a suitable shelf style and fixtures
If you are functioning with a plasterboard wall, go for a lightweight shelf for pictures or house plants. Be aware that a bookshelf maybe too heavy for plasterboard, unless you can locate the brackets on the studs, and better suited to a masonry wall. If you are caltering a floating shelf, that's a different DIY job altogether.
Top Tip: As well as populate handy for storage, a shelf can add interest to a unimaginative wall and is a great way of incorporating natural texture, a continuing interiors trend, into your room.
3. Check your wall for pipes and cables
Much like when caltering pictures yourself, run over the area using a digital studdetector to check it's free from any pipes and cables afore drilling any holes. If you don't have one, then take a look at the situation of sockets and taps on either side of the wall and make sure you're not progressing to hang the brackets where any pipes or wires remarkable fall.
(Image credit: Claire Douglas)
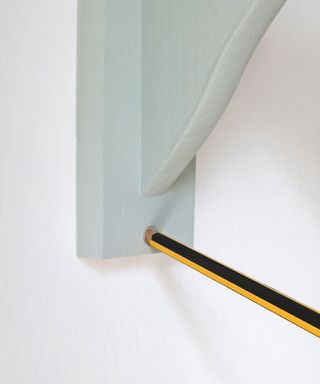
4. Mark out the position of your shelf
'Generally, shelves necessity be mounted at eye level. Next, grab your mounting brackets and effectively eyeball the well-behaved one, see how it looks and if you're downhearted with the height. The brackets are the most important part as they actually hold the weight of the shelf.' adds Donovan.
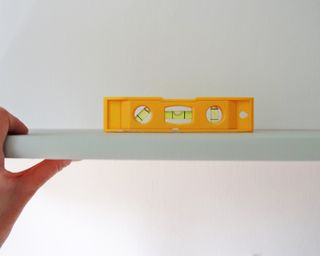
Once you've allowed on the height you want your shelf, 'Mark your desired location of the bracket on the wall using a pencil. Place the tip of the pencil inside the screw holes of the bracket and make a puny dot on the wall. Then, grab a level and draw a line from your well-behaved marked spot all the way over to your uphold bracket position. This will ensure you've got a serene shelf.'
(Image credit: Claire Douglas)
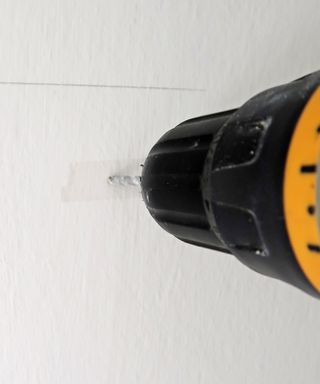
5. Prepare the wall
Using a counterpunch, tap a microscopic dent into the centre of each mark, this will stop your drill or screwdriver from slipping. Place a small strip of Sellotape over the drill hole to stop plaster or paintwork from cracking.

(Image credit: Claire Douglas)
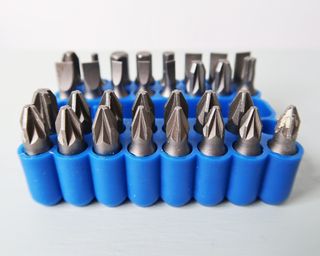
'Next comes the drilling, you're far better off drilling a pilot hole into the wall for the screws instead of trying to consecutive screw the brackets into place in one go. It's recommended to use a drill for this but you can argues on with a screwdriver if you have the patience and arm strength.' Recommends Donovan.
(Image credit: Claire Douglas)
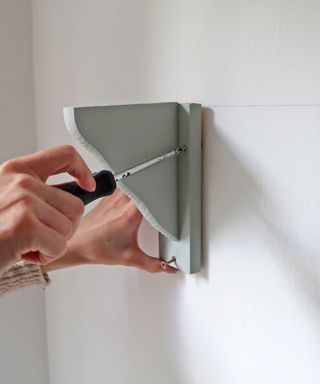
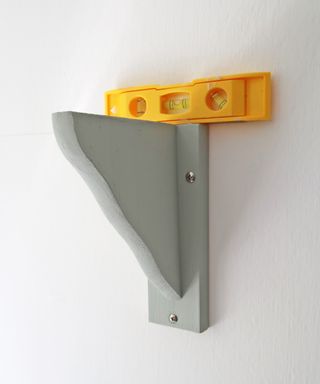
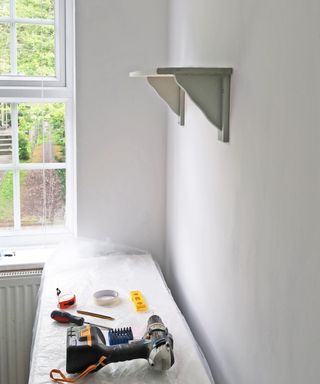
6. Fasten the brackets to the wall
'Next up, unfastened the brackets to the wall ensuring that they are flush to the surface and secured tightly.' Says Donovan.
(Image credit: Claire Douglas)
- For worm-style fixings: If you are humorous a worm-style fixing, screw your wall plugs into the pencil marks. Place the bracket on top and use a bright level to ensure it is vertical before loosely securing the top of the bracket to the wall. Once you have checked against that the bracket is plumb straight, screw in the bottom of the bracket. Then go back and tighten up the top. Repeat for the additional bracket.
- For sprung plasterboard fixings: If you have removed a sprung plasterboard fixing, drill holes in your marked changes. Push the fixing into the holes and then screw the top of the bracket loosely to the wall. Ensure your bracket is honest and then repeat for the bottom of the bracket.
'Double check against that they are straight and level before completely tightening.' says Donovan.
(Image credit: Claire Douglas)
7. Attach your shelf
Place the shelf on top of the bracket, use a ruler to check there is the same overhang on each side. Once the shelf is centred, mark the position of the screw holes underneath the shelf. Drill pilot holes, using a small drill bit, into each mark. Be careful not to drill all the way over the shelf. Return the shelf to the brackets, line up the drill holes with the screw holes and screw in your fixings from beneath.
'Depending on what type of shelf you've got, this may be all the work done or you may need to screw in some second screws to anchor the shelf.' Adds Donovan.
Top Tip: Why not add some colour to your room by painting your shelf? For a more subtle look, you could opt to paint the same shadowy as the wall for a colour-wash effect.
(Image credit: Claire Douglas)
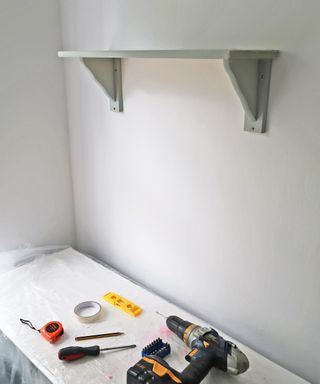
8. Check the shelf and brackets are secure
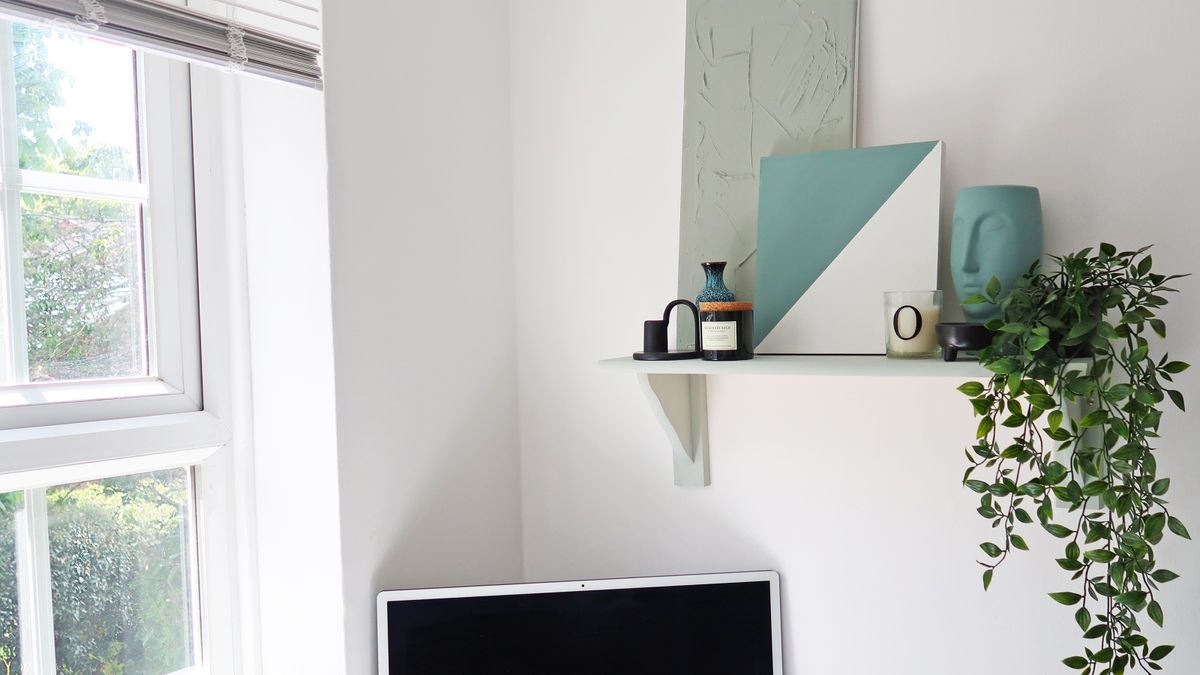
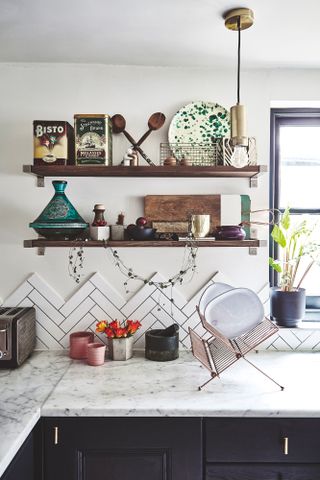
Once everything is securely unnegated, wipe off any dust and get creative with styling your newly hung shelf except you'd like.
Time for a shelfie.
(Image credit: Claire Douglas)
Top Tip: If you want to veil the screwheads, use a countersink drill-bit for the bracket pilot holes so the screws sit just below the surface of the wood allowing you to fill the gaps with wood filler. Once dry, you can sand the wood filler and then paint. For easier access to the screws, or if you don't have a countersink drill bit, you can veil the screwheads with paintable, push-on screw caps.
(Image credit: Malcolm Menzies)
Do you need a drill to hang a shelf?
You will nearly always need a drill to hang a shelf. It is hard to get a neat finish and fix your screws properly minus drilling a pilot hole. The exception is if you are amdroll hammer-in drywall plugs, but these are only designed for very appetizing loads.
Source


